Potato Sourdough
One of the many great foods that my mum makes is potato bread rolls. These are small rolls that we have alongside a meal, made from yeasted dough and either instant or normal mashed potato. They are light in texture and taste great.
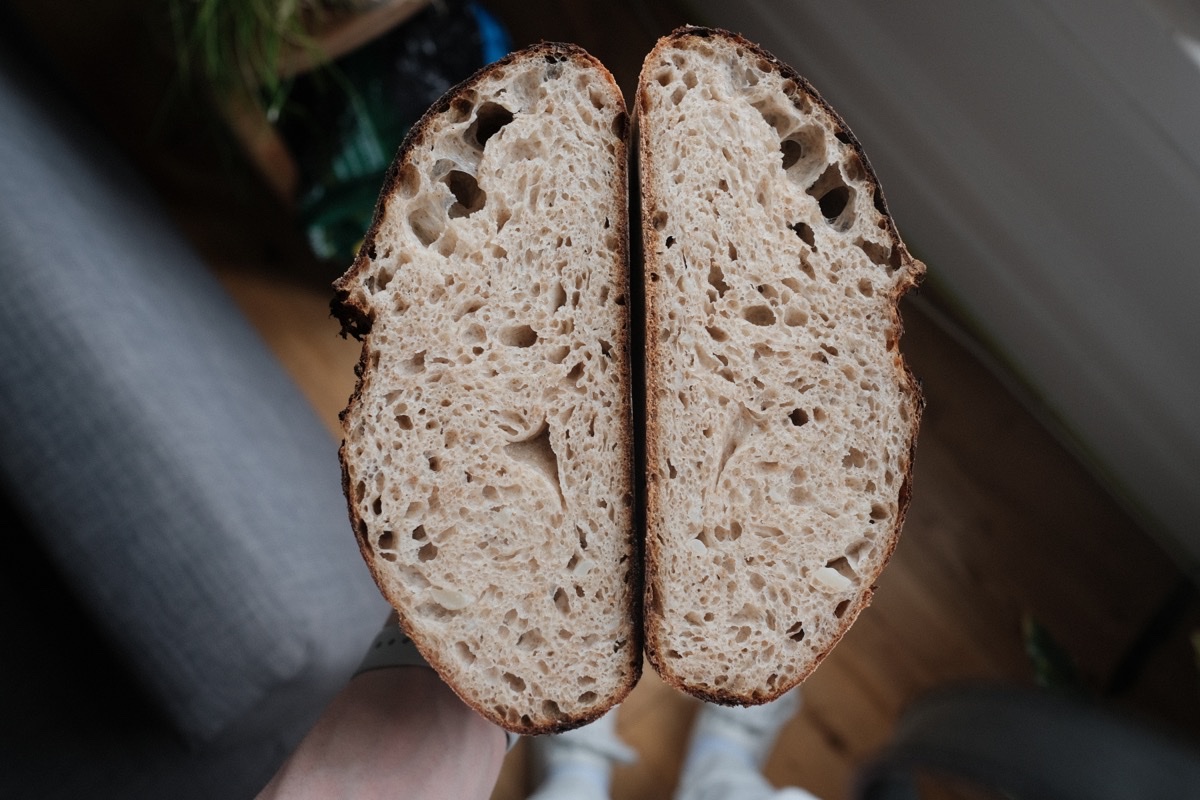
I was keen to try and bring this idea to the sourdough bread that I’ve been making as of recent. I researched online to see if there were any recipes available for this sort of dough, but I couldn’t see anything that exactly matched what I wanted - this was an open crumb and no visible pieces of potato. There were several recipes I found that were using real potatoes and mixing it in smoothly, however, the dough that they made was of low hydration, fast rise and a closed crumb. Similarly, I did find one recipe that matched those characteristics. But, it was one where you left in chunks of potato, which I wasn’t keen for.
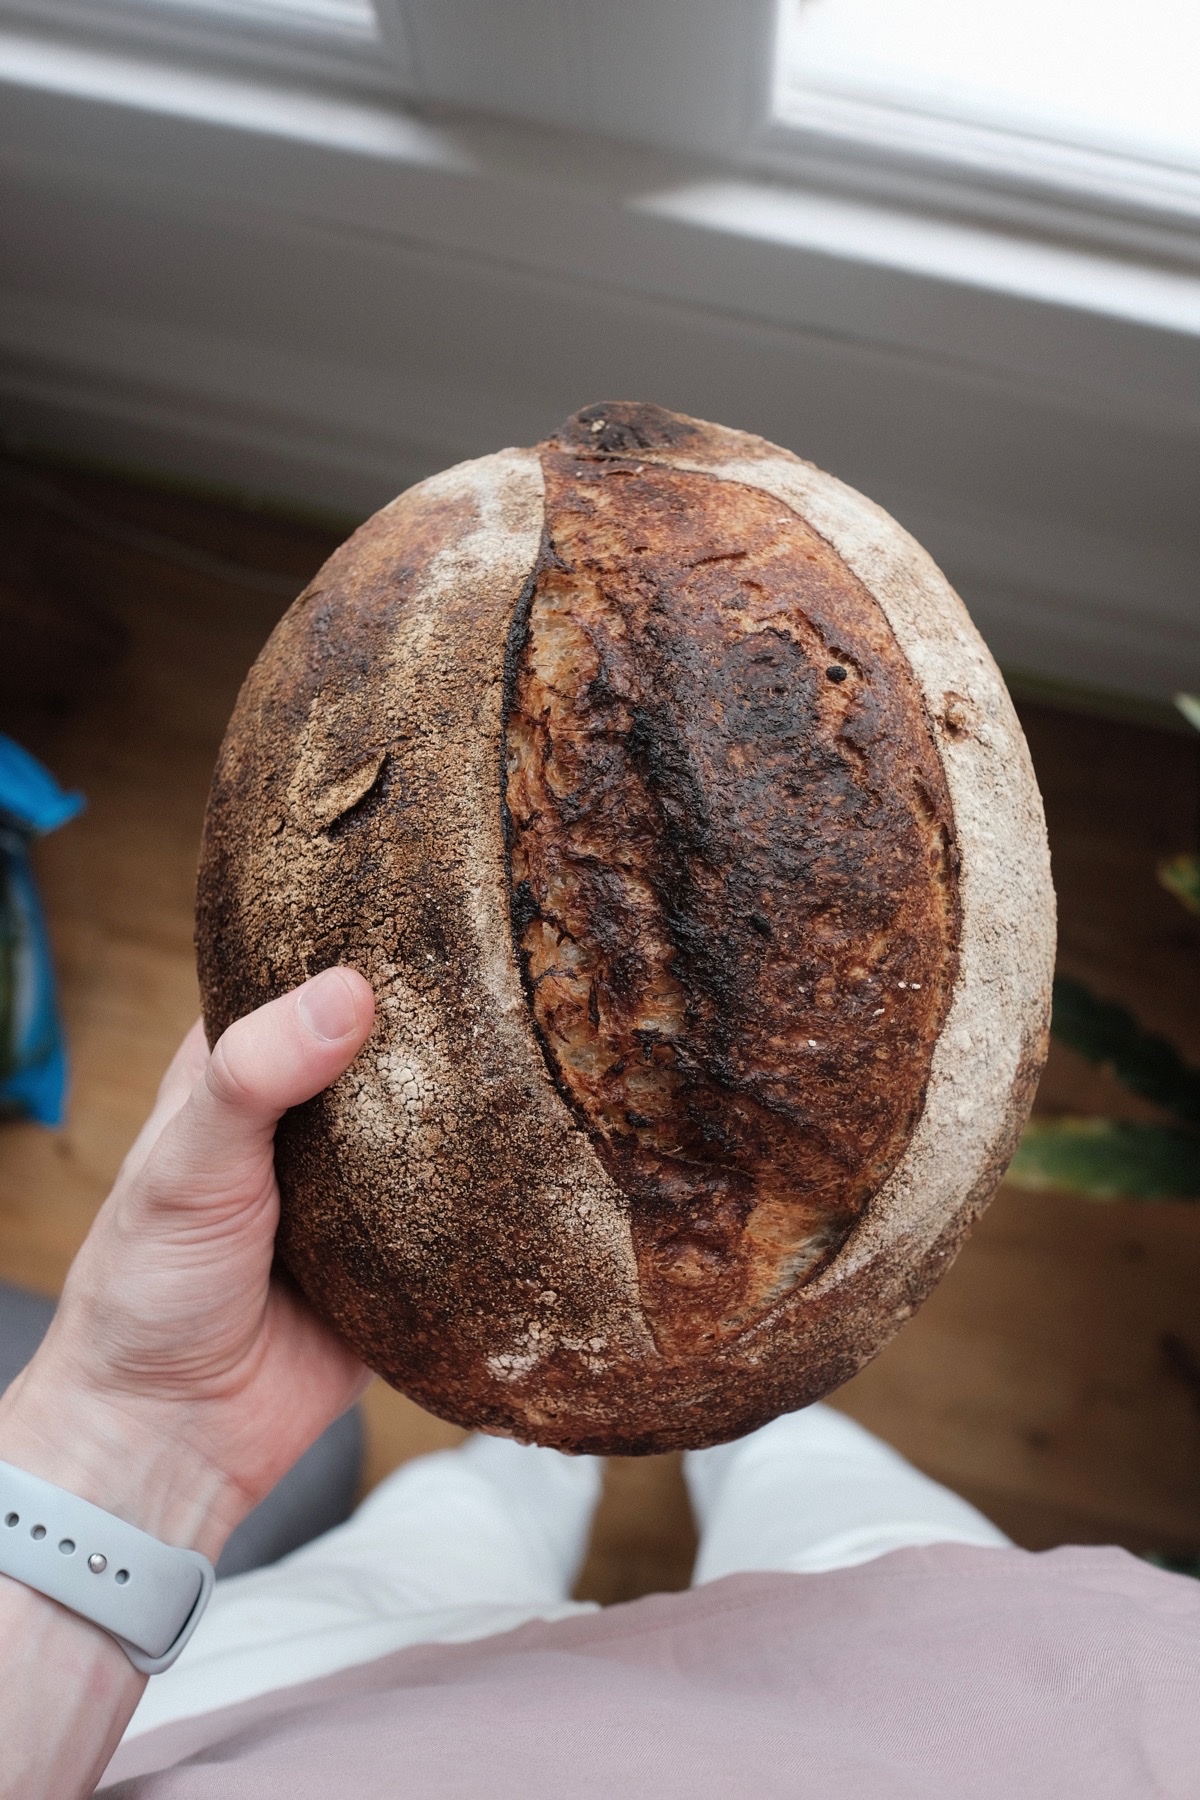
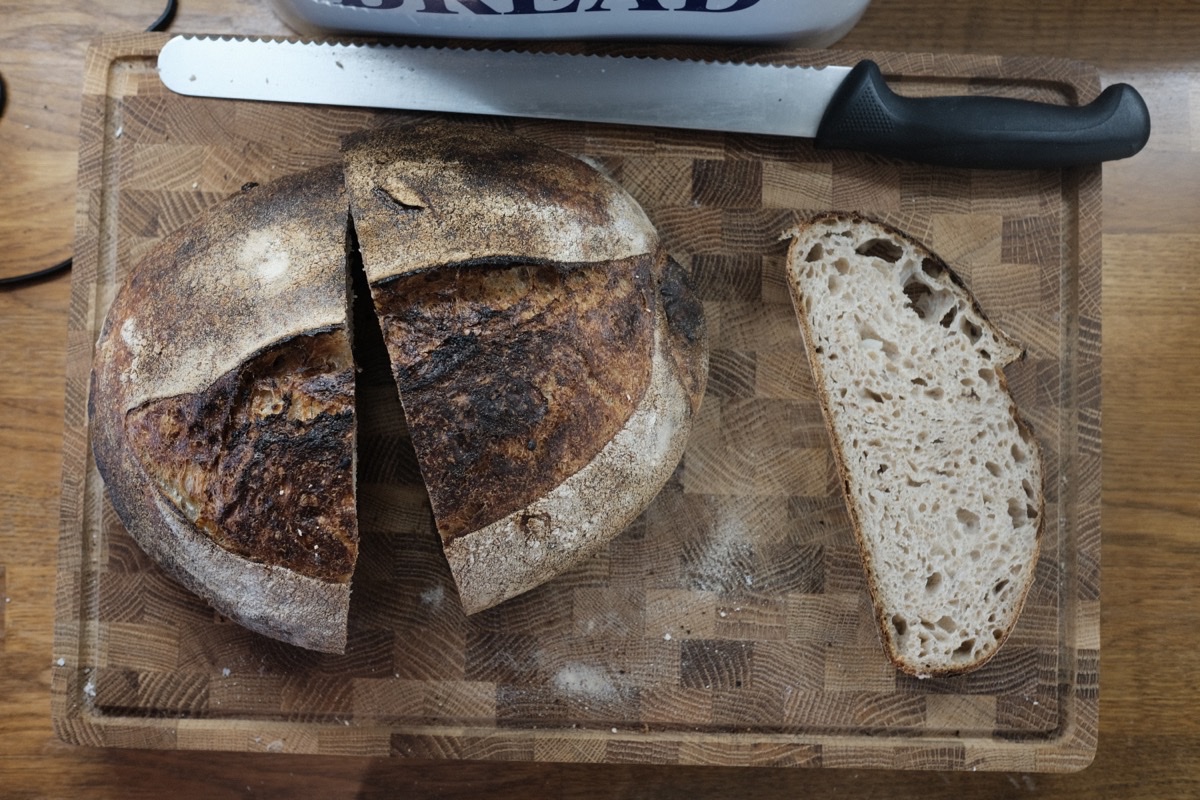
I eventually gave up searching and just thought I’d wing it with a recipe. It turned out far better than I could have hoped, so I thought I’d share it here. It makes for a brilliantly moist crumb and flavoursome crust.
Recipe
- 400g strong white flour
- 100g whole wheat flour
- 375g water
- 11g salt
- 110g levain
- 250g potatoes, peeled and chopped into large chunks
08:00 - Prepare Levain
Prepare a levain in the morning by mixing 60 of flour, 60g of warm water and 60g of sourdough starter. (You may need to adjust ratios and timing based on the temperature of your kitchen or liveliness of your starter)
17:00 - Mix Dough & Boil Potatoes
Mix 350g water with the flour - we will save the other 25g of water for after the autolyse. Leave to rest for 30 minutes, covered. Whilst that rests, boil 250g of potatoes for 8 minutes. Once they are soft, remove from the heat and mash. Leave the mashed potatoes to cool until the autolyse is done.
17:30 - Mix Final Ingredients
Add the mashed potatoes, 11g of salt and 110g of levain to the dough and mix well. I like to use the ‘slap and fold’ technique. Cover and leave in a warm place.
18:00 - First Fold
Using a wet hand, stretch and fold the dough over itself at each corner.
18:30 - Second Fold
Repeat the previous set of folds.
19:00 - Third Fold
Repeat for the final set of folds then leave the dough to bulk rise.
22:00 Pre-Shaping
By now the dough should show visible bubbles and have risen noticeably. Turn it out onto a counter top and lightly flour one side of it. Using a scraper, starting at the floured side of the dough, pull the scraper round the dough and then back towards itself, creating a ball shape. Leave it to bench rest on the counter top.
22:45 Shaping
The dough will have spread out by now. Flour the top of it and then use a scraper to loosen it from the counter in place. Using the scraper, flip the dough so that the floured side now sits on the counter. Stitch the dough into a tight ball and place in a proofing basket. Either leave the dough to proof for 1-2 hours or put it in the fridge overnight.
08:00 Baking
If you proof the dough overnight in the fridge, the time at which you bake the next day is pretty flexible.
Place a lidded pod into the oven and preheat to 240 degrees. After 45 minutes, remove the pot from the oven and the proofing loaf from the fridge. Turn the dough out into the pot and optionally score the dough with a sharp blade. Place it back into the oven for 25 minutes. After 25 minutes, remove the lid and continue to bake for another 15 minutes.


